Solutions to fix Windows 10/11 Update Error Code 0x80073712

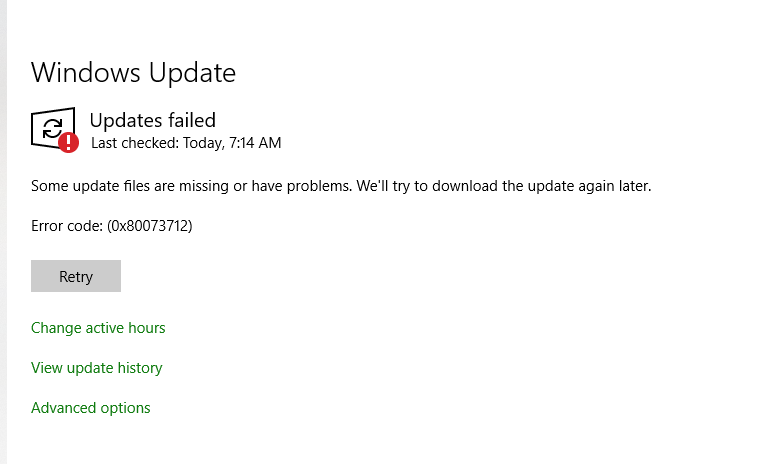
Error code 0x80073712is a Windows Update error that can occur when trying to install updates or service packs on a Windows operating system. This Windows Update error code 0x80073712 typically indicates that a file or component that is required for the update is missing, corrupted, or damaged.
Common reasons why you might encounter this error code 0x80073712:
- Missing or corrupted system files: The Windows Update process relies on several system files to function properly. If any of these files are missing or corrupted, it can cause the update process to fail.
- Third-party software interference: Sometimes, third-party software installed on your computer can interfere with the Windows Update process, causing errors like Update Error 0x80073712 to occur.
- Malware or virus infections: Malware or virus infections can damage or corrupt system files, which can cause the Windows Update process to fail.
- Hardware issues: In some cases, hardware issues like a failing hard drive or faulty RAM can cause errors like Windows 10 Error 0x80073712 to occur.
Run the Windows Update trouble-shooter:
This built-in tool can automatically detect and fix common Windows Update errors.

- Press Windows key + I on your system keyboard to open the Settings app option
- Click on “Update & Security”
- Click on “Troubleshoot”
- Click on “Windows Update”
- Click on “Run the trouble-shooter”
- Follow the prompts to complete the troubleshooting process
- After completion of all these steps, try to run the Windows Update again.
Delete Pending XML Files:
Steps for deleting pending xml file in windows
- To delete a pending XML file in Windows, you can follow these steps:
- Open the Windows Task Manager by pressing Ctrl+Shift+Esc or by right clicking the taskbar and selecting Task Manager.
- In Task Manager, press the “Services” tab option .
- Scroll down to list of services until you find out the “Windows Update” and right-click on it.
- Press to “Stop” the Windows Update service.
- Open File Explorer and navigate to the following folder: C:\Windows\SoftwareDistribution\Download
- In this folder, you can see few files and folders. Look for XML file that you want to delete or remove.
- Right-click on the file and Choose the “Delete” from the context menu.
- If you encounter any errors while trying to delete the file, it may be because the Windows Update service is still running. In this case, return to the Task Manager and ensure that the service has been stopped.
- Once you have successfully deleted the XML file, you can restart the Windows Update service by returning to the Task Manager, right-clicking on the “Windows Update” service, and selecting “Start”.
Use the System File Checker (SFC) tool:
This tool scans your system files for errors and repairs them if necessary.
-
- Use SFC tool, open the Command Prompt window as an admin.

- And enter the command “sfc /scan now
Use the Deployment Image Servicing and Management (DISM) tool
This tool can repair corrupted Windows system files.
To use the DISM tool,
- View a Command Prompt window as an administrator.
- And type the command.sfc /scan now
- “dism /online /clean-up-image /restorehealth”.
Run disk clean up
- Steps to run Disk Cleanup on a Windows computer:
- Press to the Start menu option and type to “Disk Cleanup” in the search bar.
- Click on the Disk Cleanup app that appears in the search results.
- Pick out the drive that you want to clean up and press OK.
- Wait for Disk Cleanup to calculate how much space you can free up on the selected drive.
- Check the boxes next to the types of files you want to delete.
- Click the “Clean up system files” button to find additional files to delete, such as Windows upgrade logs, temporary files, and more.
- Select the additional files you want to delete and click OK.
- Click the “Delete Files” button to confirm that you want to delete the selected files.
- Wait for Disk Cleanup to delete the files. This may take several minutes, depending on the amount of data to be cleaned up.
- Once Disk Cleanup is finished, close the program, and restart your computer if prompted to do so.
Restart windows Update services
Steps to restart the Windows Update service:
- Tap on to Windows key + R on your keyboard to view the Run dialog box.
- Enter to “services.msc” in the Run dialog box and press Enter. It will open the Services window.
- Scroll down and locate the “Windows Update” service.
- Right-click on to “Windows Update” service and choose “Stop” from the context menu. It will stop the Windows Update service.
- Wait for a few seconds, then right-click on the “Windows Update” service again and select “Start” from the context menu. This will restart the Windows Update service.
- Close the Services window.
- That’s it! The Windows Update service should now be restarted, and you should be able to check for updates on your Windows system.
Scan your system for malware or viruses:
Use a reputable antivirus software to scan your system for malware or viruses that may be causing the error. Check your hardware:
If none of the above steps resolve the issue, check your hardware for any issues that may be causing the error. Run a diagnostic tool to check your hard drive and RAM for any problems.
Overall, Windows 11 Update error code 0x80073712 can be frustrating to deal with, but it’s usually fixable with some basic troubleshooting steps. If you’re unable to resolve the issue on your own, consider seeking help from a professional technician or Microsoft support.